Introduction
Welcome to the wonderful world of bread baking! There’s something truly magical about the process of turning simple ingredients into a delicious loaf of bread. In this beginner’s guide, we will take you through the step-by-step process of baking bread from scratch. Whether you’re a complete novice or have dabbled in baking before, this tutorial will help you master the art of bread making.
Gather Your Ingredients
The first step in baking bread is to gather all the necessary ingredients. Here’s what you’ll need:
- 3 cups of all-purpose flour
- 1 ½ teaspoons of salt
- 2 teaspoons of active dry yeast
- 1 ¼ cups of warm water
- 1 tablespoon of olive oil
Mixing the Dough
Now that you have all your ingredients ready, it’s time to mix the dough. Follow these steps:
- In a large mixing bowl, combine the flour and salt.
- In a separate bowl, dissolve the yeast in warm water and let it sit for a few minutes until it becomes frothy.
- Pour the yeast mixture and olive oil into the flour mixture.
- Using a wooden spoon or your hands, mix the ingredients until they come together to form a sticky dough.
Kneading the Dough
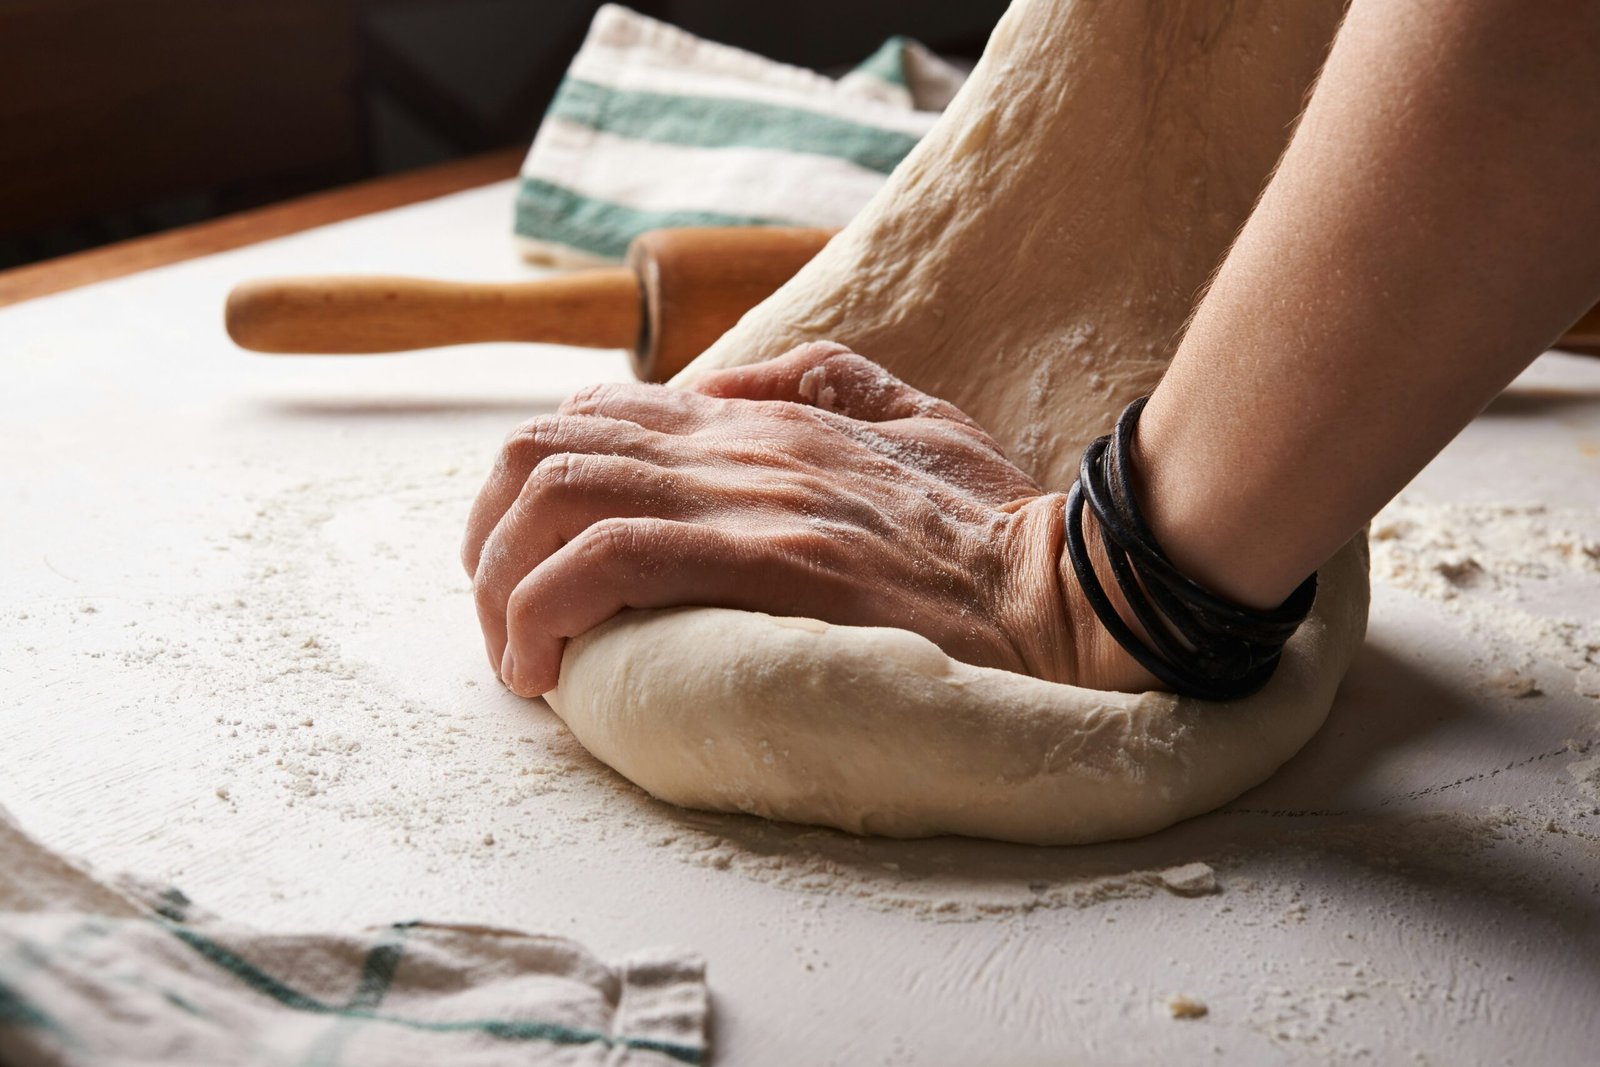
Once the dough is mixed, it’s time to knead it. Kneading helps develop the gluten in the dough, which gives bread its structure and texture. Here’s how to knead the dough:
- Lightly flour a clean surface and transfer the dough onto it.
- Using the heel of your hand, push the dough away from you and then fold it back towards you.
- Rotate the dough a quarter turn and repeat the pushing and folding motion.
- Continue kneading for about 10 minutes until the dough becomes smooth and elastic.
First Rise
After kneading the dough, it’s time to let it rise. Rising allows the yeast to ferment and produce carbon dioxide, which gives the bread its airy texture. Follow these steps:
- Shape the dough into a ball and place it in a greased bowl.
- Cover the bowl with a clean kitchen towel or plastic wrap.
- Let the dough rise in a warm, draft-free place for about 1 to 2 hours or until it doubles in size.
Shaping and Second Rise
Once the dough has risen, it’s time to shape it and let it rise again. Here’s what you need to do:
- Punch down the dough to release any air bubbles.
- Transfer the dough onto a lightly floured surface.
- Shape the dough into a loaf by folding the sides towards the center and then rolling it tightly.
- Place the shaped dough onto a greased or parchment-lined baking sheet.
- Cover the dough with a kitchen towel and let it rise for another 30 to 45 minutes.
Baking the Bread
Finally, it’s time to bake your bread to golden perfection. Follow these steps:
- Preheat your oven to 425°F (220°C).
- Slash the top of the dough with a sharp knife to allow for expansion during baking.
- Place the baking sheet with the dough in the preheated oven.
- Bake for about 25 to 30 minutes or until the bread is golden brown and sounds hollow when tapped on the bottom.
- Remove the bread from the oven and let it cool on a wire rack before slicing.
Enjoy Your Homemade Bread!
Congratulations! You’ve successfully baked your own bread from scratch. Now it’s time to slice, slather with butter, and enjoy the fruits of your labor. There’s nothing quite like the taste and aroma of freshly baked bread. So go ahead, take a bite, and savor the satisfaction of creating something delicious with your own two hands.
Remember, practice makes perfect, so don’t be discouraged if your first loaf isn’t picture-perfect. With time and experience, you’ll become a bread-baking pro. Happy baking!

